Overview
SecureExchange users who have the Client Advisor role can create and manage SecureExchanges within the SecureExchange platform.
This article outlines the steps to create and manage a SecureExchange.
Create a SecureExchange
Follow these steps:
- Login to SecureExchange
- Click on Create

- The Create SecureExchange page will be displayed.

- Enter the following information
- Business Case Information
- Give the SecureExchange a Name e.g. Financial Report 2024
- Give the SecureExchange a Business case description
- Folder Structure
- Create folders to structure documents via e.g. topics
- Client Information
- Enter the client information
- Business Case Information
- Click Save to create the SecureExchange
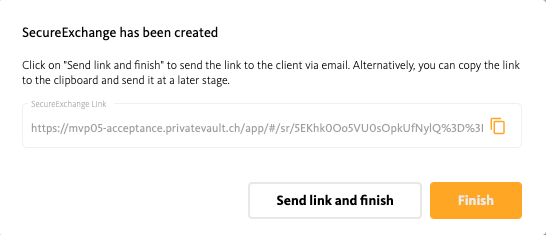
- Click on Send link and finish to send the link to the client via email. Alternatively, you can copy the link to the clipboard and send it at a later stage.
Note:
Entering the correct Client Information are crucial for the notifications which are send via Email and SMS form the SecureExchange platform.
Manage a SecureExchange
Follow these steps:
- Login to SecureExchange
- Click on Manage
- The Find SecureExchange page will be displayed.
- Search for the created SecureExchange via the search field.
- Select the required SecureExchange and click Open

- The Manage Content of SecureExchange page will be displayed.
.png?width=688&height=387&name=Untitled%20design%20(1).png)
It is possible to:
- Update client information
- Create and delete folders
- Rename folders
- Upload and download documents
- Send link to client via email or copy link to share
- Close SecureExchange
- Delete SecureExchange
Know more:
Check out the following article to learn more about how to inform a client about a SecureExchange.